よこちさんの記事 を見て、USB NIC を追加してみました。
DeskMini A300 では ESXi 6.7 を使っていますが、NIC が Realtek のものなので ESXi 7.0 に対応しておらず、バージョンアップできないという問題があったからです。
こちらを買いました。

 amazon.co.jp
USB Network Native Driver for ESXi からドライバをダウンロード。 いまはまだ 6.7 なので 6.7 用のものを取ってきて入れます。
$ scp ESXi670-VMKUSB-NIC-FLING-39203948-offline_bundle-16780994.zip root@192.168.0.3:/vmfs/volumes/datastore1/
ESXi に root でログインしてインストール。
[root@a300esxi:/vmfs/volumes/5c8a3bad-478221dc-f72f-7085c2c45926] esxcli software vib install -d /vmfs/volumes/datastore1/ESXi670-VMKUSB-NIC-FLING-39203948-offline_bundle-16780994.zip
Installation Result
   Message: The update completed successfully, but the system needs to be rebooted for the changes to be effective.
   Reboot Required: true
   VIBs Installed: VMW_bootbank_vmkusb-nic-fling_2.1-6vmw.670.2.48.39203948
   VIBs Removed:
   VIBs Skipped:
[root@a300esxi:/vmfs/volumes/5c8a3bad-478221dc-f72f-7085c2c45926]
無事入ったので再起動します。
ちゃんと認識されました。
[root@a300esxi:~] lsusb
Bus 001 Device 003: ID 0b95:1790 ASIX Electronics Corp. AX88179 Gigabit Ethernet
Bus 001 Device 002: ID 05e3:0608 Genesys Logic, Inc. Hub
Bus 002 Device 001: ID 0e0f:8003 VMware, Inc. Root Hub
Bus 001 Device 001: ID 0e0f:8003 VMware, Inc. Root Hub
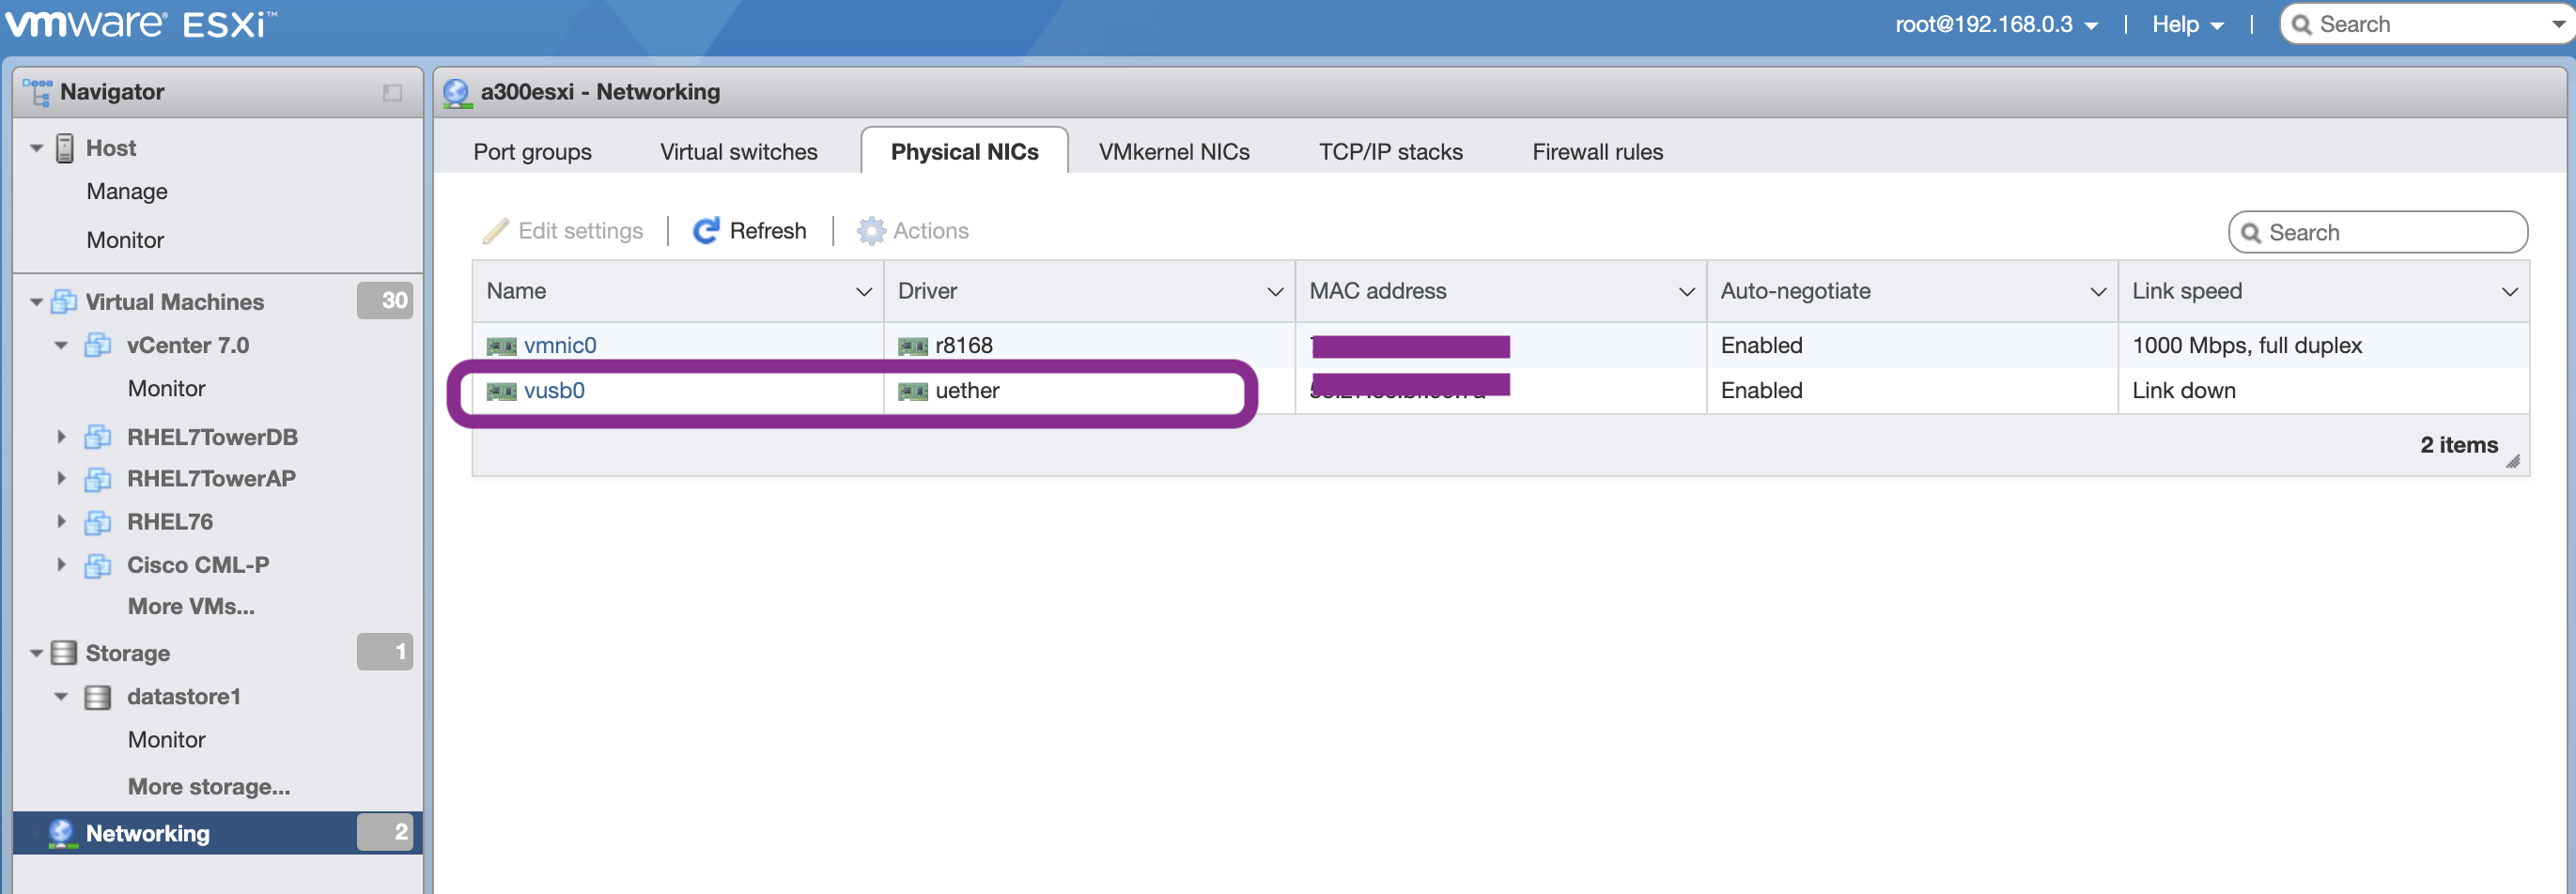
NIC を vmnic0 から vusb0 に移行するため、両方にケーブルをつないで link up しときます。
そして vSwitch0 の物理 NIC を変更。

VM Network の画面でも変わったことを確認します。
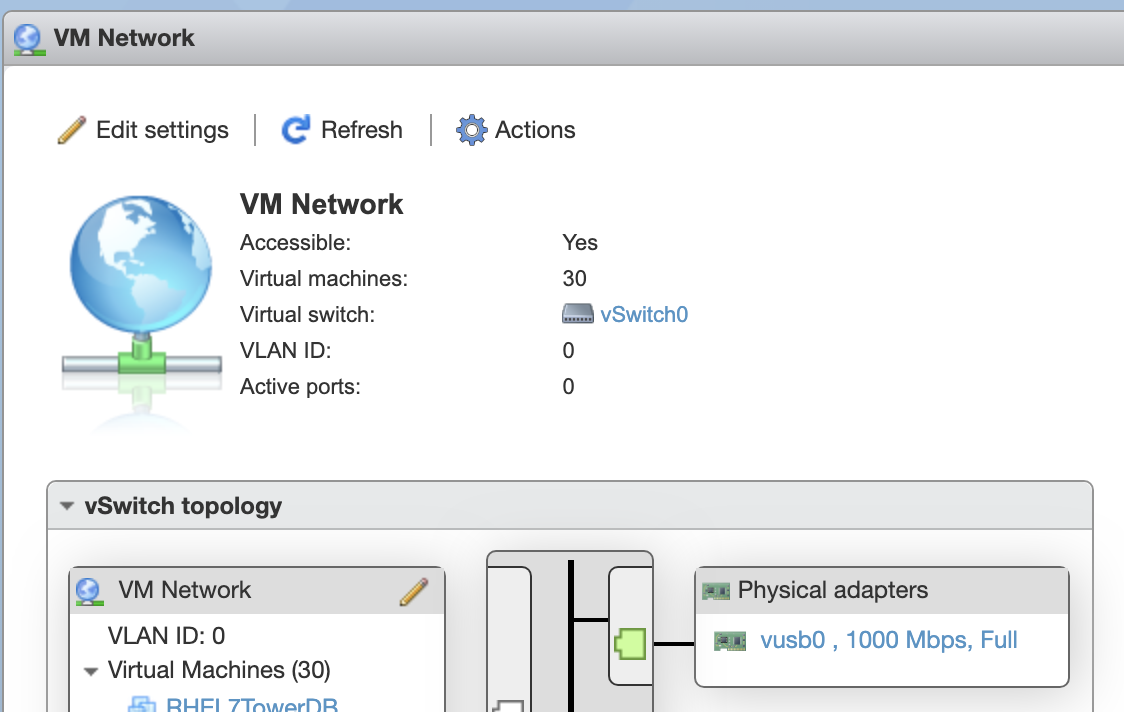
これで古いほうの LAN ケーブルは抜いても大丈夫でした。
使わなくなった Realtek のドライバを削除します。
まずは VIB の確認から。
[root@a300esxi:~] esxcli software vib list
Name                           Version                               Vendor   Acceptance Level    Install Date
-----------------------------  ------------------------------------  -------  ------------------  ------------
net55-r8168                    8.045a-napi                           Realtek  CommunitySupported  2019-03-14
ata-libata-92                  3.00.9.2-16vmw.670.0.0.8169922        VMW      VMwareCertified     2019-03-14
ata-pata-amd                   0.3.10-3vmw.670.0.0.8169922           VMW      VMwareCertified     2019-03-14
...
この net55-r8168 を削除します。
[root@a300esxi:~] esxcli software vib remove --vibname=net55-r8168
Removal Result
   Message: The update completed successfully, but the system needs to be rebooted for the changes to be effective.
   Reboot Required: true
   VIBs Installed:
   VIBs Removed: Realtek_bootbank_net55-r8168_8.045a-napi
   VIBs Skipped:
これも Reboot Required: true なので再起動します。
ここで再起動したとき、NIC が有効になっておらず繋がらないという問題が発生しました。
起動してから System Customization → Configure Management Network と進んで、NIC にチェックが入っていなかったので有効にすることで無事つながりました。 かなり焦りましたね。
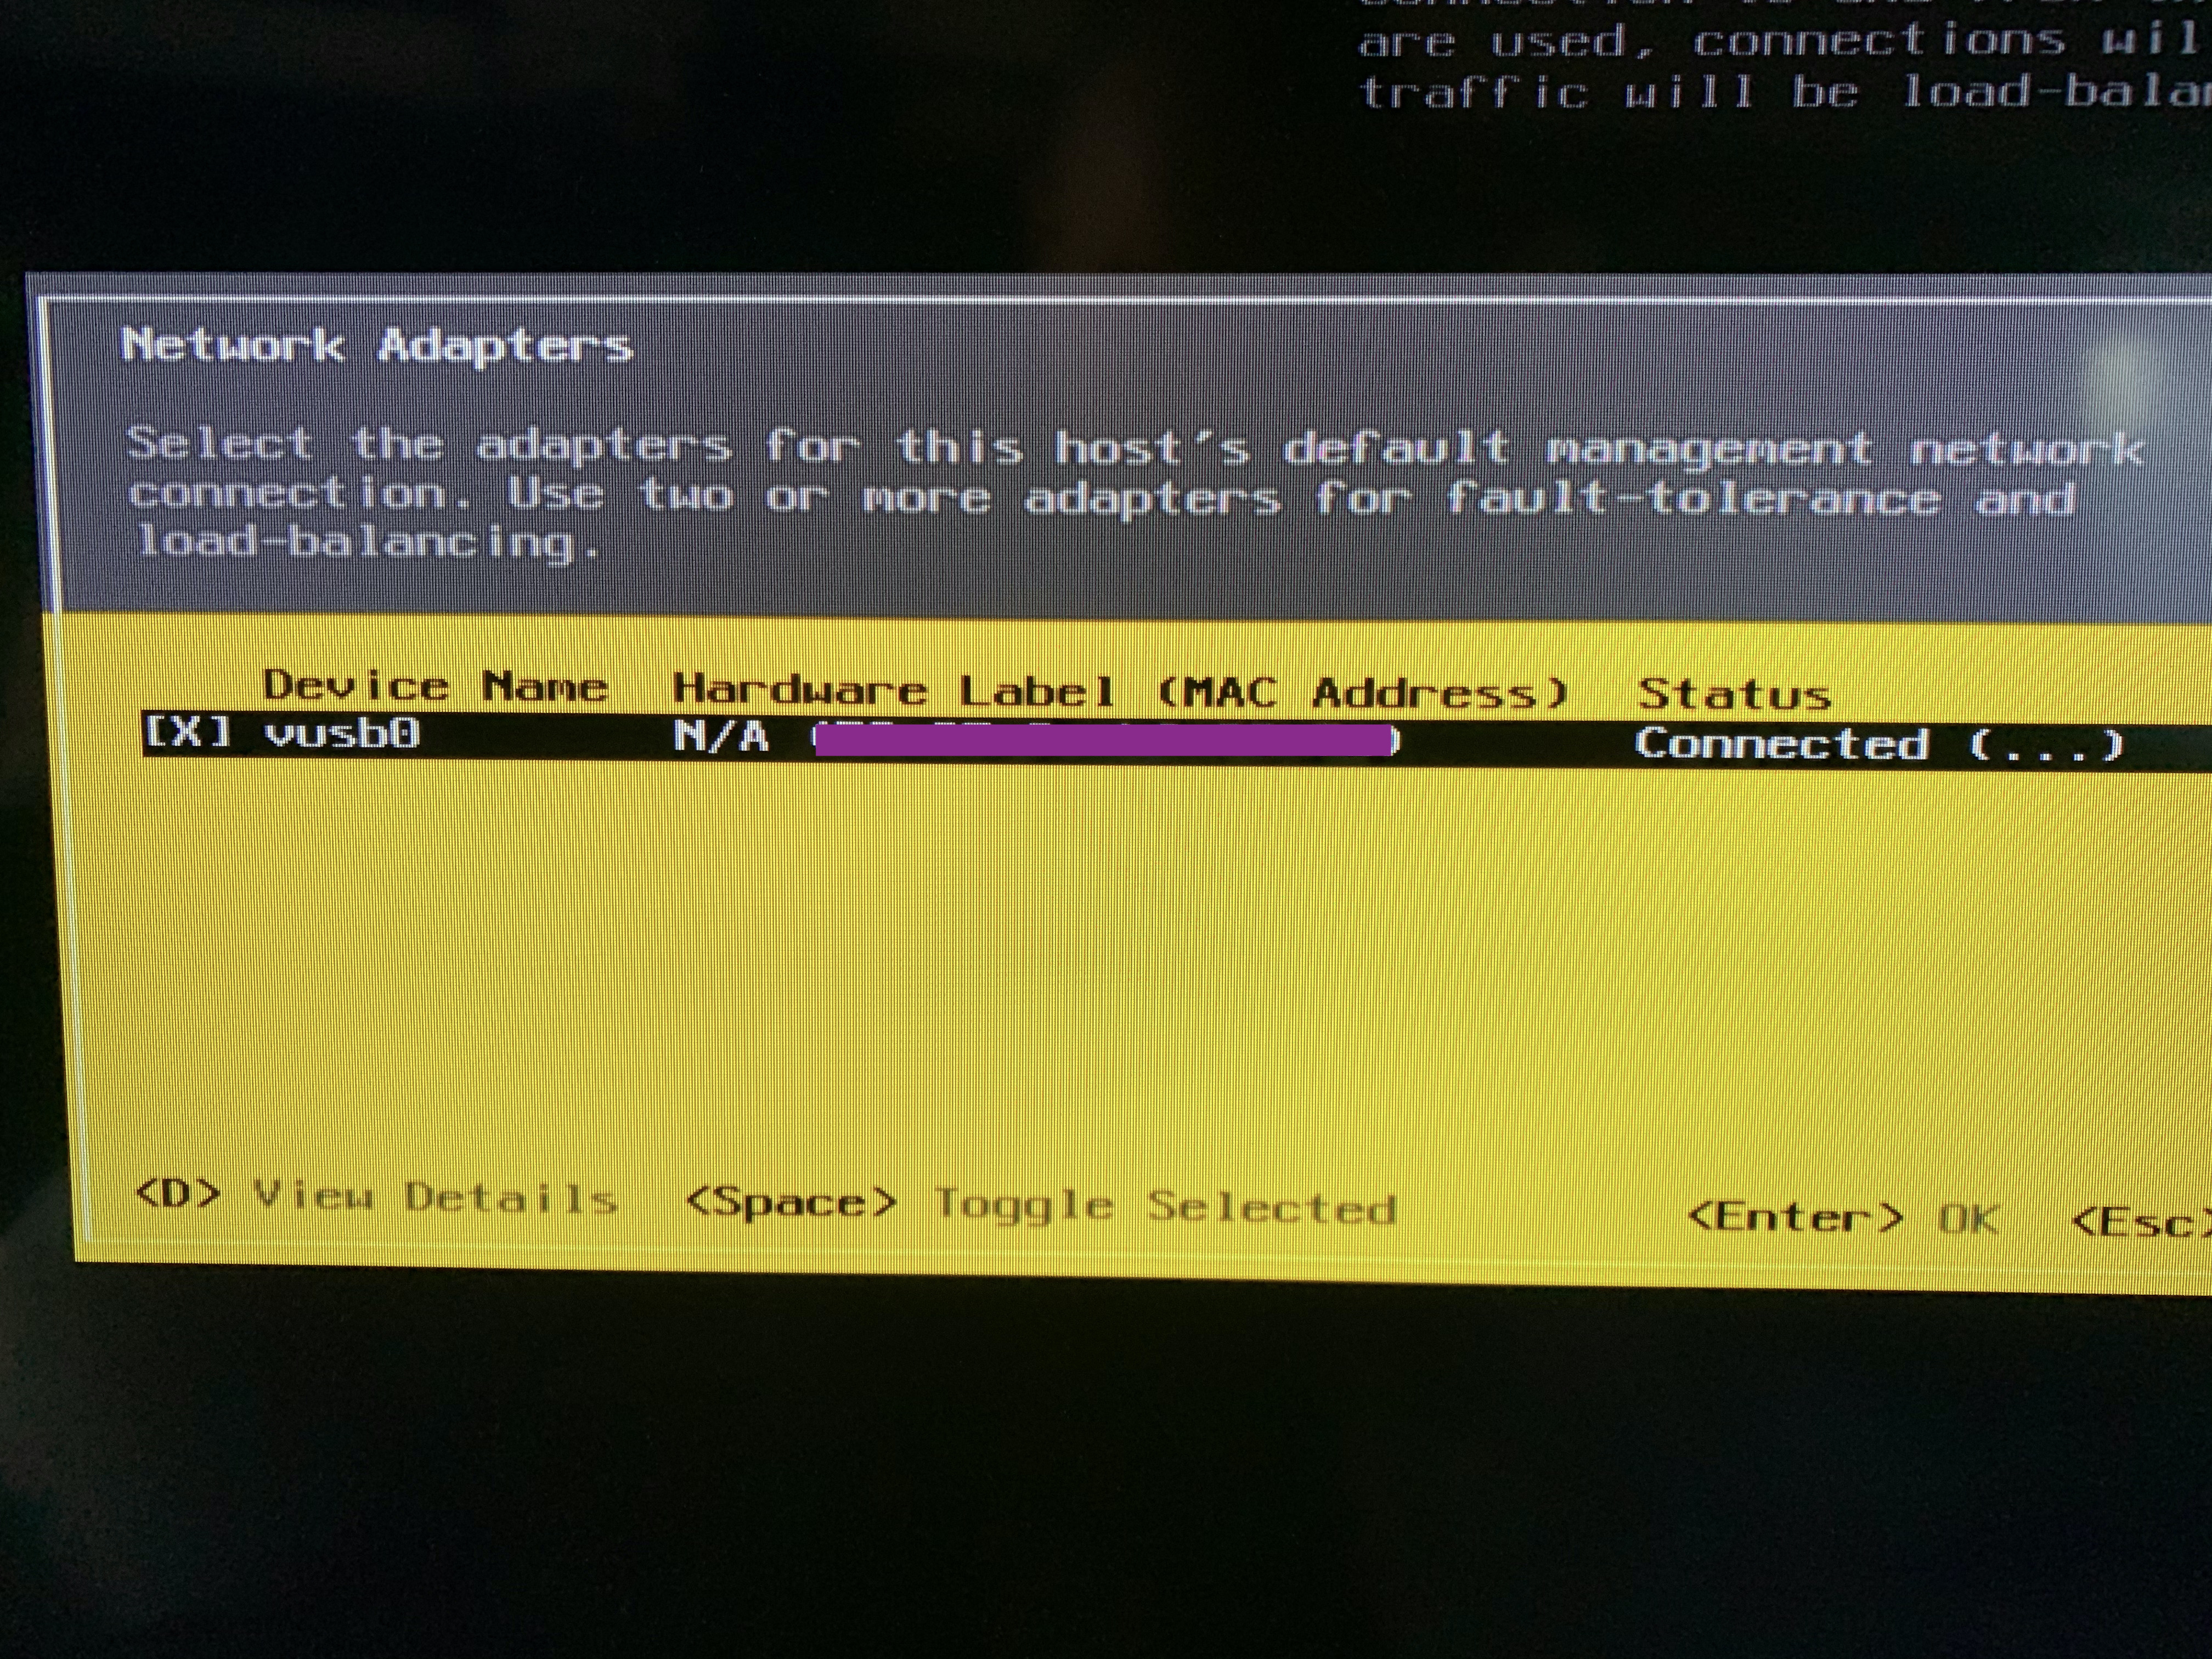
この画面で有効にすればつながるのですが、再起動すると消えてしまいます。
こちら にしたがって、ESXi の起動スクリプトを修正します。
[root@a300esxi:/etc/rc.local.d] cat local.sh
#!/bin/sh

# local configuration options

# Note: modify at your own risk!  If you do/use anything in this
# script that is not part of a stable API (relying on files to be in
# specific places, specific tools, specific output, etc) there is a
# possibility you will end up with a broken system after patching or
# upgrading.  Changes are not supported unless under direction of
# VMware support.

# Note: This script will not be run when UEFI secure boot is enabled.

vusb0_status=$(esxcli network nic get -n vusb0 | grep 'Link Status' | awk '{print $NF}')
count=0
while [[ $count -lt 20 && "${vusb0_status}" != "Up" ]]
do
    sleep 10
    count=$(( $count + 1 ))
    vusb0_status=$(esxcli network nic get -n vusb0 | grep 'Link Status' | awk '{print $NF}')
done

esxcfg-vswitch -R

exit 0
これでようやく再起動できるようになりました。 無事初期設定で正しくつながるようになったところで、7.0 へのバージョンアップを進めていきます。
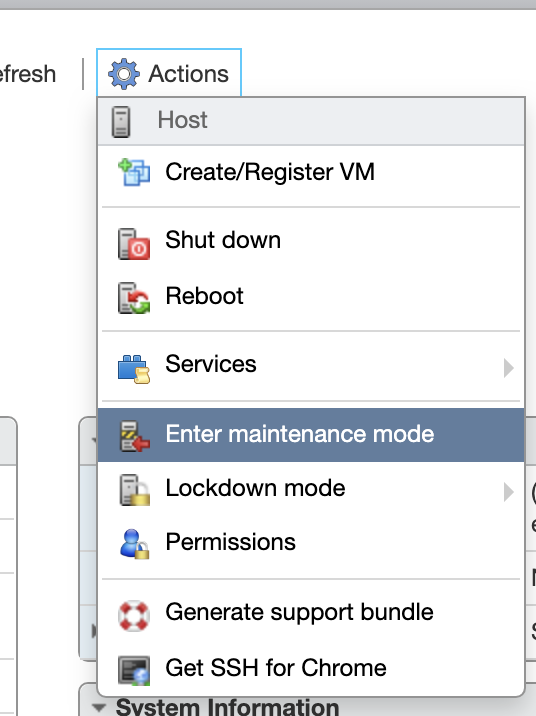
メンテナンスモードにします。
アップグレードファイルを VMware のサイトからダウンロードして、datastore に置きます。
[root@a300esxi:/vmfs/volumes/5c8a3bad-478221dc-f72f-7085c2c45926] ls -l VMware-ESXi-7.0U1-16850804-depot.zip
-rw-r--r--    1 root     root     360621933 Dec 30 08:48 VMware-ESXi-7.0U1-16850804-depot.zip
プロファイルを確認します。
[root@a300esxi:/vmfs/volumes/5c8a3bad-478221dc-f72f-7085c2c45926] esxcli software sources profile list -d /vmfs/volumes/datastore1/VMware-ESXi-7
.0U1-16850804-depot.zip
Name                          Vendor        Acceptance Level  Creation Time        Modification Time
----------------------------  ------------  ----------------  -------------------  -------------------
ESXi-7.0.1-16850804-standard  VMware, Inc.  PartnerSupported  2020-09-04T18:28:17  2020-09-04T18:28:18
ESXi-7.0.1-16850804-no-tools  VMware, Inc.  PartnerSupported  2020-09-04T18:28:19  2020-09-04T18:28:19
アップグレードしようとするとエラーになりました。
[root@a300esxi:/vmfs/volumes/5c8a3bad-478221dc-f72f-7085c2c45926] esxcli software profile update -d /vmfs/volumes/datastore1/VMware-ESXi-7.0U1-1
6850804-depot.zip -p ESXi-7.0.1-16850804-standard
 [DependencyError]
 VIB VMW_bootbank_vmkusb-nic-fling_2.1-6vmw.670.2.48.39203948 requires vmkapi_incompat_2_5_0_0, but the requirement cannot be satisfied within the ImageProfile.
 Please refer to the log file for more details.
NIC のドライバが 6.7 と 7.0 で互換性がないためアップグレードできないと。
そこで、インストーラからやり直すことにしました。ESXi-Customizer-PS の最新版を取ってきます。2.8.1 でした。
Windows 10 でイメージを作成します。管理者権限で PowerShell を起動して、PowerCLI をインストール。
PS> Install-Module -Name VMware.PowerCLI -AllowClobber
権限が足りないと言われるので、実行できるように権限を追加します。
PS> Set-ExecutionPolicy -ExecutionPolicy RemoteSigned
USB NIC の 7.0 用のドライバもダウンロードしてきて、ESXi のインストールイメージを作ります。 追加するドライバが正しく [OK, added] と表示されることを確認します。

できた ISO ファイルから USB メモリに移して、USB メモリから起動。
2つSSDを使っているんですが、ESXi をインストールしたものを正しく選択してアップグレード。
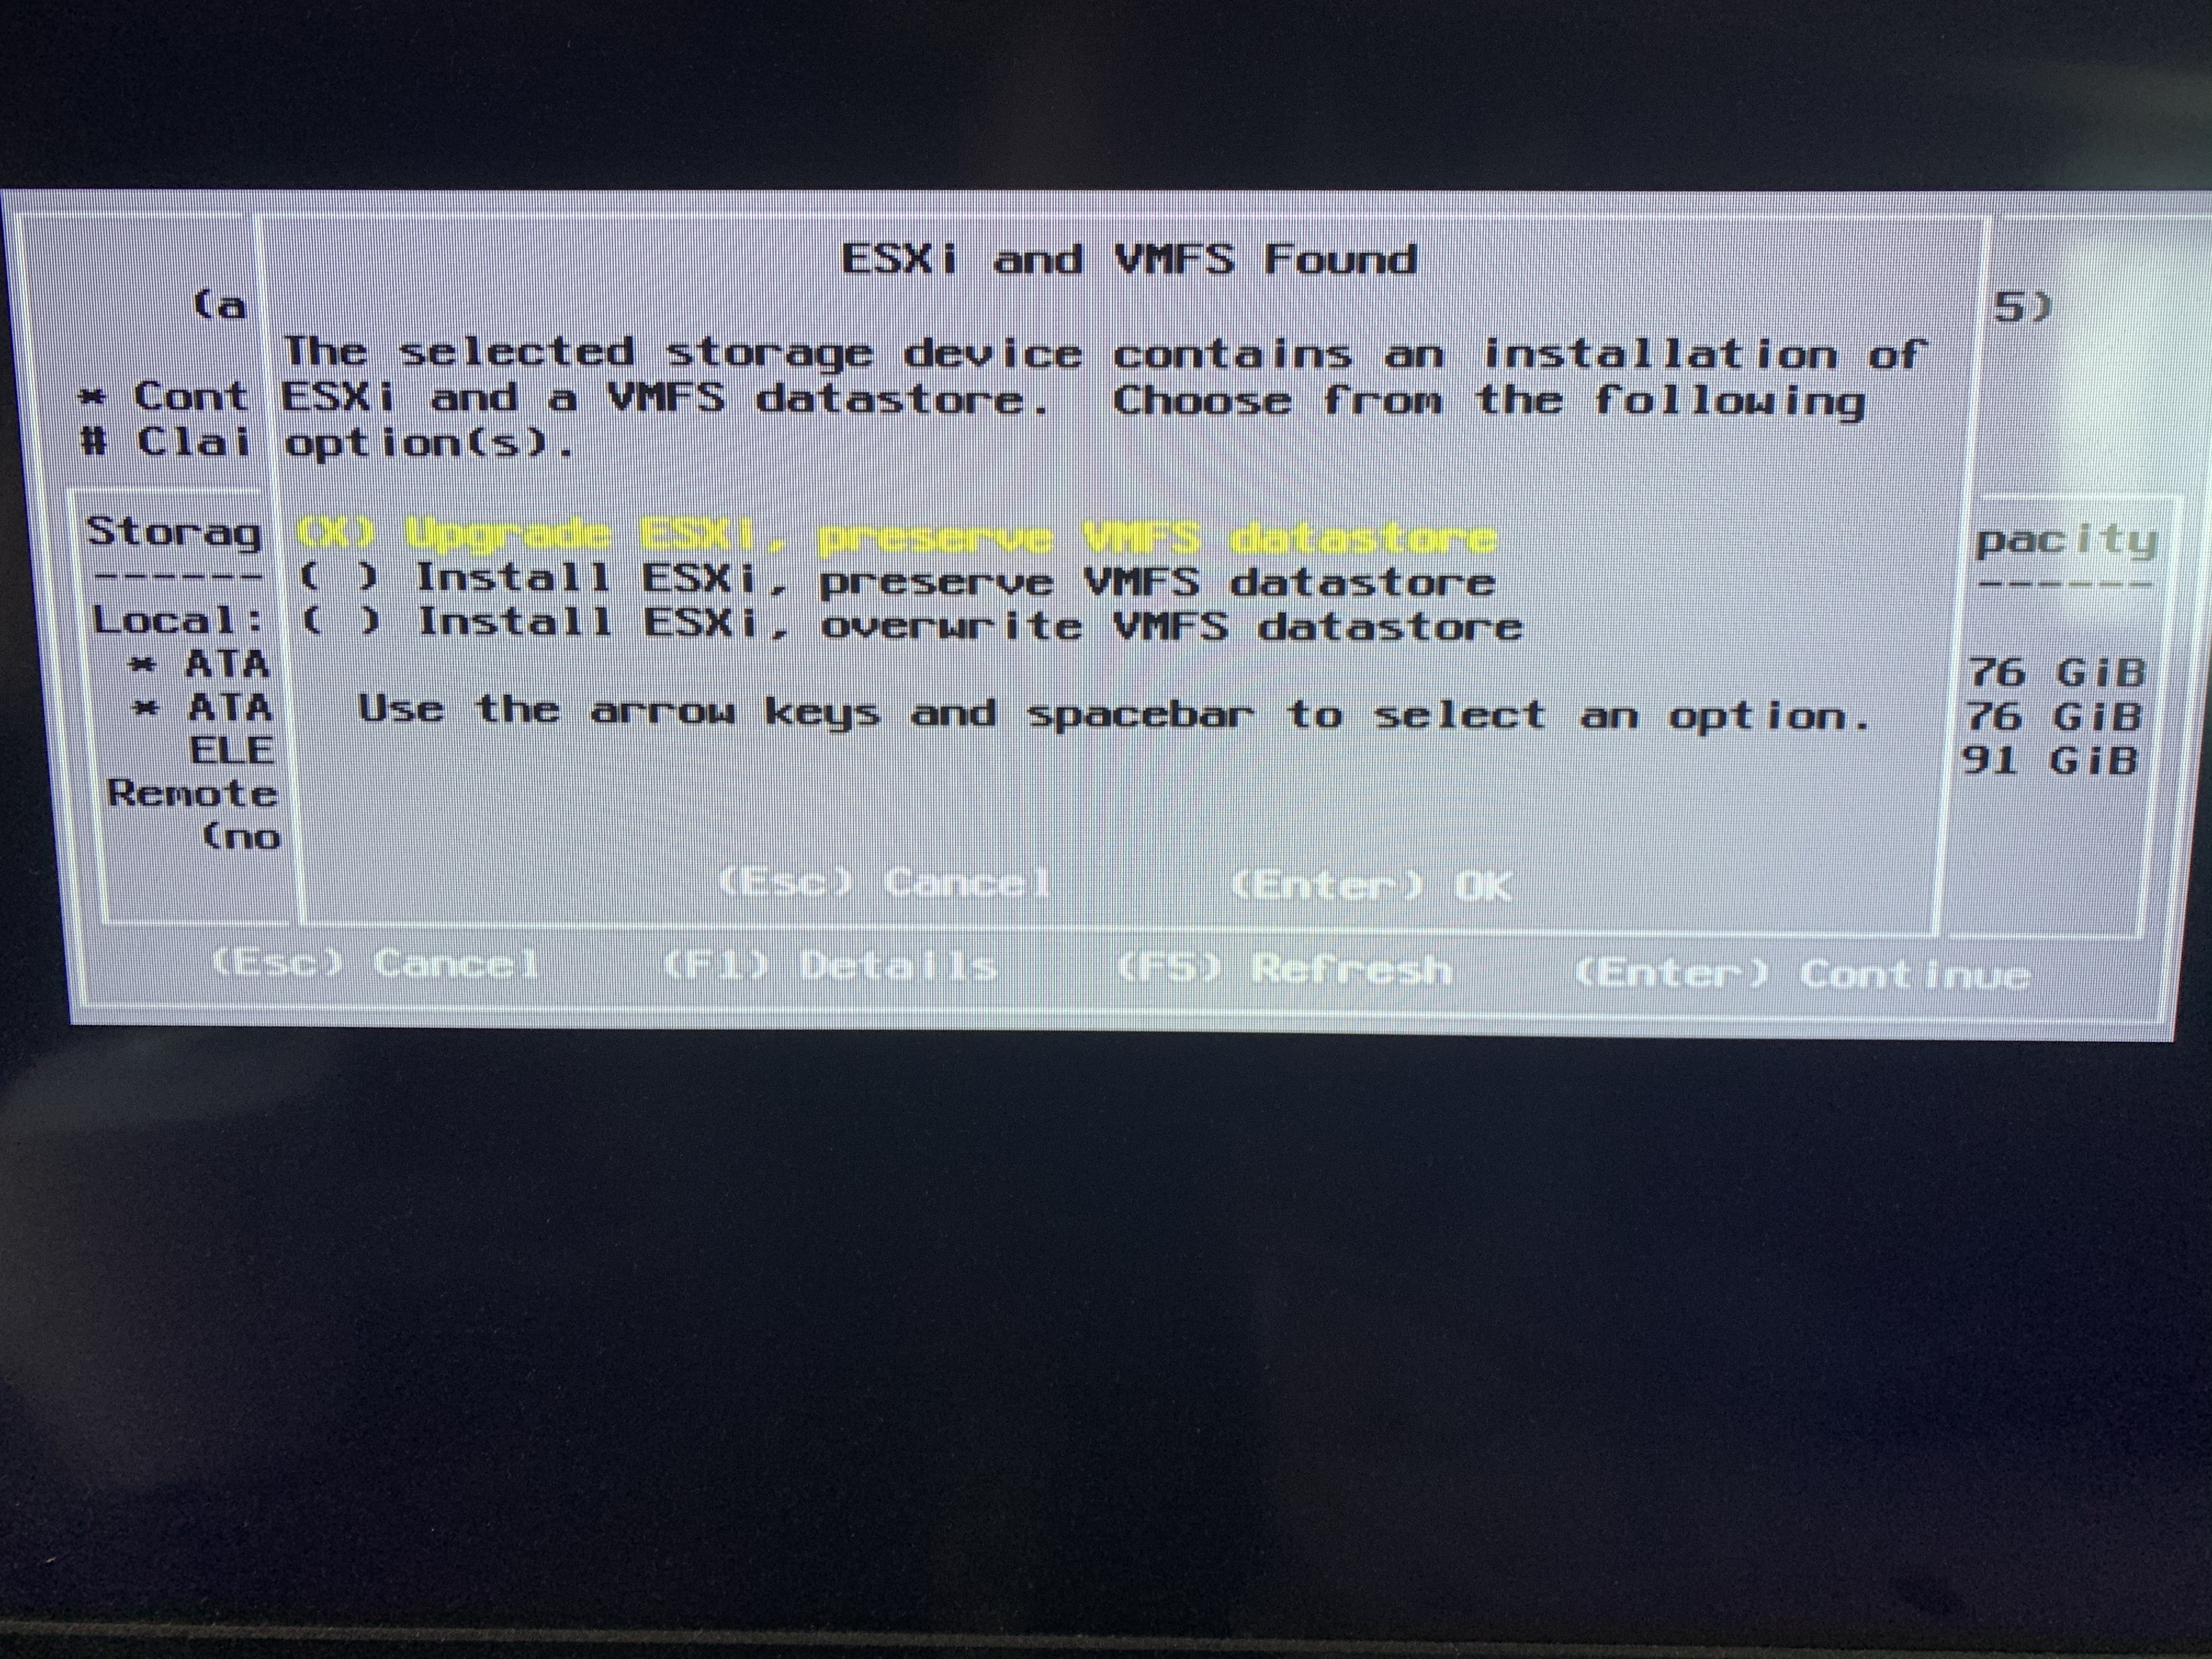
1分くらいで終わりました。
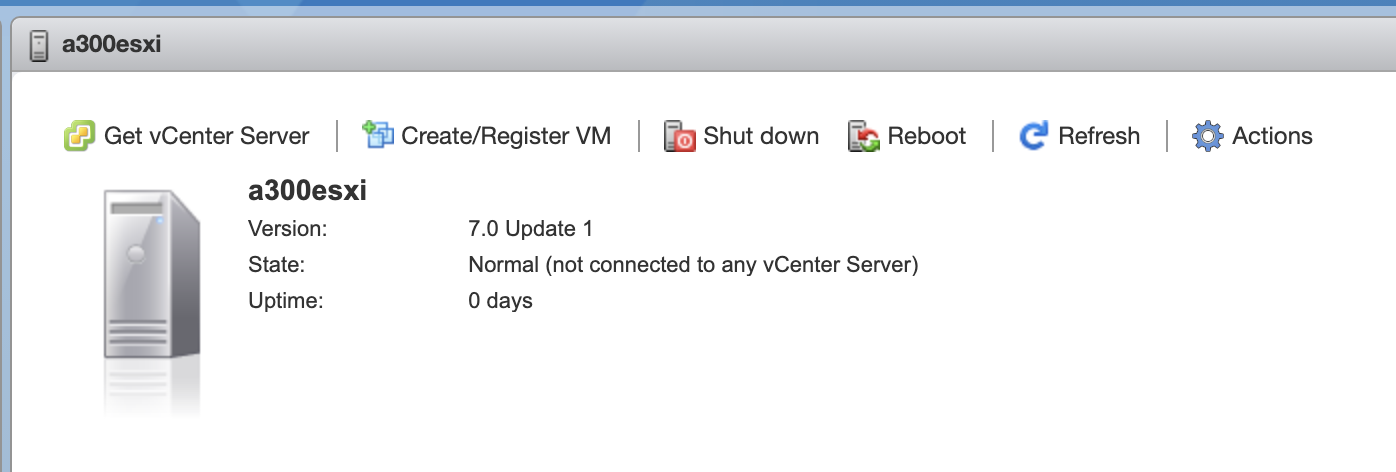
あとは 7.0 用のライセンスを適用して、アップグレード作業は終わりです。 USB NIC もちゃんと使えて、無事アップグレードもできてよかったです。