QNAP はうまく動かすことができず、5分くらいで接続が切れてしまうため残念ながら返品しました。代わりに買ったのはこれです。
電源内蔵型なのでACアダプタではなく普通の電源ケーブルになっていて、扱いが楽です。
早速ミラーリングモードにしてHDDを装着。こんな感じで認識されました。

フォーマットも1分くらいで完了。

今度は安定して使えるといいなぁ。
QNAP はうまく動かすことができず、5分くらいで接続が切れてしまうため残念ながら返品しました。代わりに買ったのはこれです。
電源内蔵型なのでACアダプタではなく普通の電源ケーブルになっていて、扱いが楽です。
早速ミラーリングモードにしてHDDを装着。こんな感じで認識されました。
フォーマットも1分くらいで完了。
今度は安定して使えるといいなぁ。
ずっと使っている外付けHDDがもう7年も前のものだったことに気がつき、買い替えてみようかなと。USB 接続でしたが今回は NAS にしました。
今回買ったのは QNAP TS-231P。HDD は安い Seagate のにしました。壊れやすいとか聞きますが、RAID 1 にするしまぁ大丈夫だろうということで。
でした。送料510円で合計55,025円。
さっそく組み立て。


LAN でつないだら QFinder というのを入れて設定していきます。

ファームウェアを更新。最新で出荷してくれ。。何度かピーピー言いながら更新されます。

ファームウェアが更新されたらいろいろと初期設定。なかなか時間かかります。これが終わるまで最初からだいたい10分くらい。


ログインしたらこんな感じ。ここからいろいろストレージとしての設定をしていきます。

DLNA としてテレビから使うには、Media Streaming add-on を入れるといいようです。

まだまだよくわかっていませんが、こんな用途で使うつもりです。
インストール USB の作成 を参考にして、MacでUSBメモリに書き込み。
$ diskutil unmountDisk /dev/disk3
Unmount of all volumes on disk3 was successful
$ sudo dd if=Fedora-Workstation-netinst-x86_64-28-1.1.iso of=/dev/rdisk3 bs=1m
Password:
583+0 records in
583+0 records out
611319808 bytes transferred in 82.595986 secs (7401326 bytes/sec)
$ diskutil unmountDisk /dev/disk3
Unmount of all volumes on disk3 was successful
作成したUSBメモリをノートパソコンに挿して、「Windowsの設定」→「更新とセキュリティ」→「回復」→「今すぐ再起動」で再起動。
「オプションの選択」の画面になるので、「デバイスの使用」→「EFI USB Device」を選択して起動。
「system doesn’t have any USB boot option」 のエラーになってしまいましたが、
Boot Option Menu が開いたときに「Windows Boot Manager」ではないほうを選択して起動することで、
無事 Fedora28 のインストーラが起動しました。

あとは普通にインストールしていきます。SSDのパーティションは全部消しました。

無事インストール終了。Mac と使い勝手は違いますが、慣れていこうと思います。

その後はハードウェアの設定を変えるには右側の NOVO ボタンを押す必要があります。
小さい穴になっているので、クリップなどで押すと昔の BIOS 画面のような感じで起動します。
これらの2ヶ所を変更することで、VirtualBox が使えるようになりました。
他にもあれこれ使ってみてはいますが、いまのところ他に変える必要がある項目はなさそうです。
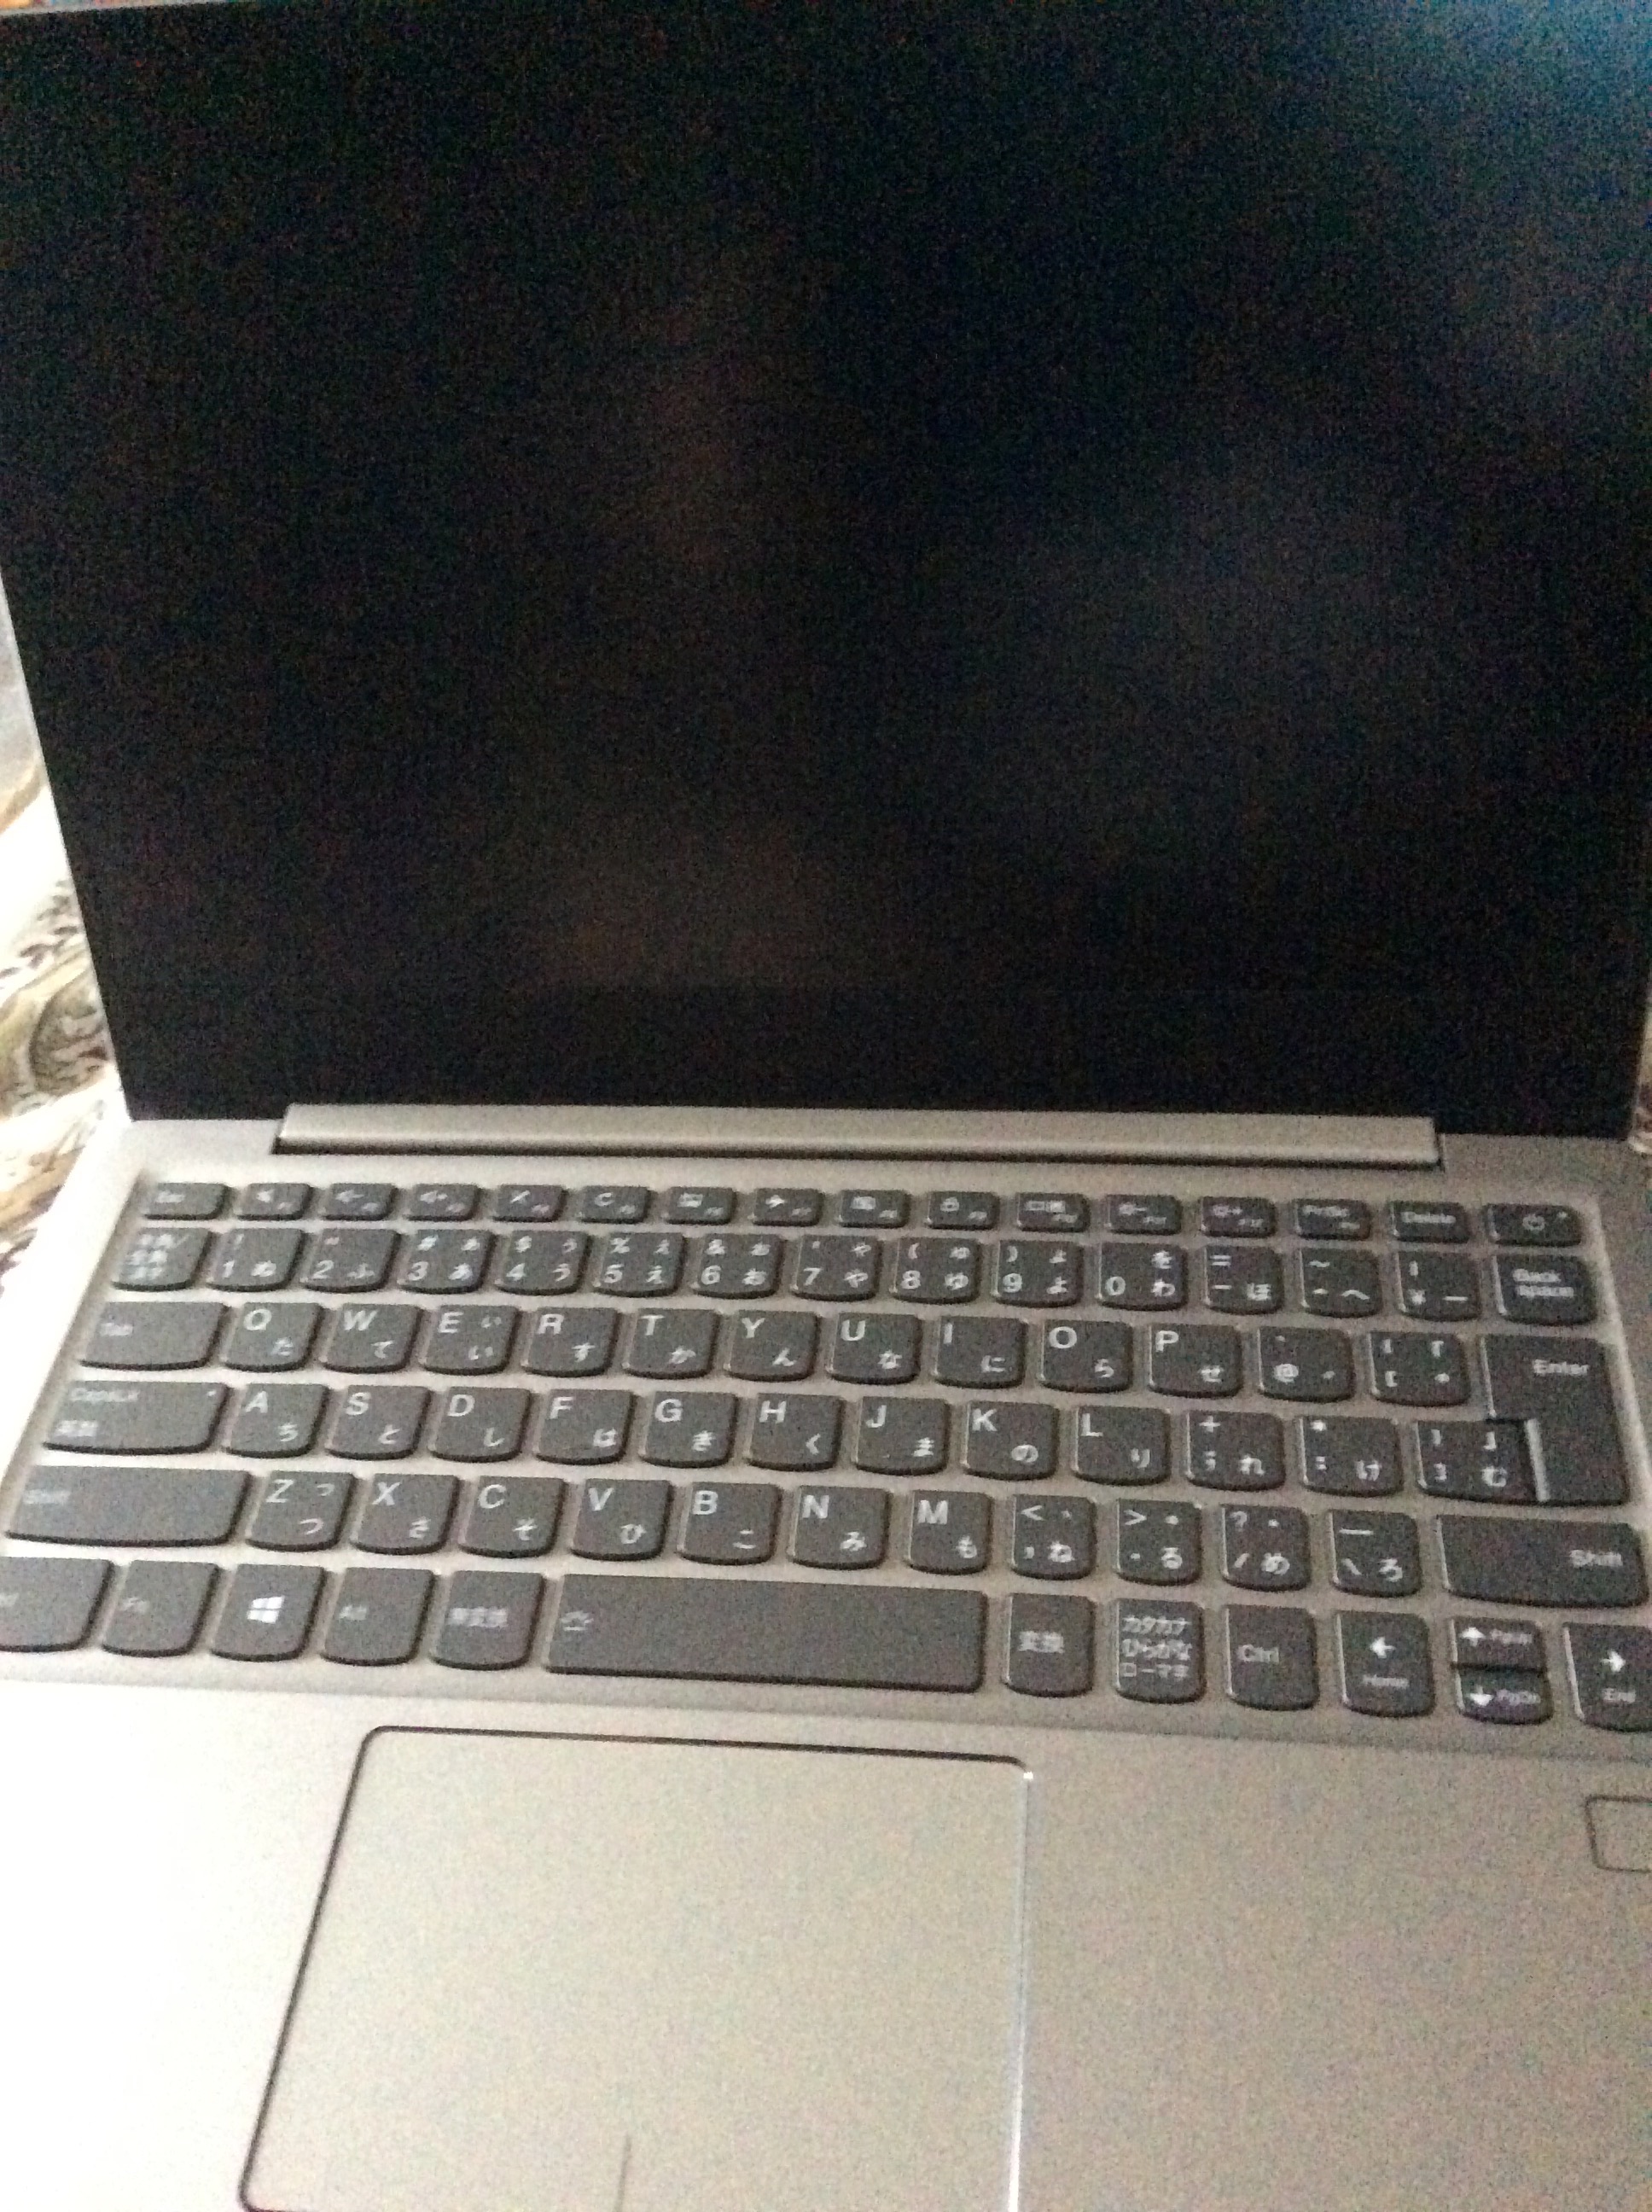
ずっとノートパソコンが欲しいと思っていてしばらく検討していましたが、Lenovo Ideapad 720S を買いました。99,922円。
こんな仕様です。
プロセッサー
インテル Core i5-8250U プロセッサー ( 1.60GHz 2400MHz 6MB )
初期導入OS
Windows 10 Home 64 bit
ディスプレイ
13.3″FHD IPS 光沢なしLEDバックライト 1920×1080
メモリー
8.0GB PC4-19200 DDR4 (オンボード) 2400MHz
ストレージ1
256GB SSD
標準保証
1年間 引き取り修理
ACアダプター
45W
Office ソフトウエア
なし
グラフィックス
CPU内蔵(インテル UHD グラフィックス 620)
バッテリー
4セル リチウムイオンポリマーバッテリー
Bluetooth
Bluetooth Version 4.1
指紋センサー
あり
ワイヤレス
IEEE 802.11 ac/a/b/g/n ワイヤレスLAN (WiFi準拠)
1.2kg以下で軽いことと、メモリが8GBあることを条件に検討していました。
予算はオーバーしましたが、思い切って買ったので長く使えるといいなと思っています。
Windows は早速消して、Fedora を入れる予定です。
初期セットアップが終わり、回復ドライブを作っています。
「回復ドライブの作成」をコントロールパネルから呼び出して、16GBのUSBメモリを挿して作成します。
古いUSBメモリなので遅く、作り終わるのに30分くらいかかりました。
Mac でディスクイメージとして保存しておきます。これでいつ初期化したくなっても大丈夫。

戻したくなったときは、ディスクユーティリティでディスクイメージを読み込み、USBメモリを挿して「復元」します。

実際に回復することになったらこちらを参照します。昔のノートパソコンのBIOSとは違いますね。
Minishift を試してみました。マニュアルに沿ってインストール。
$ brew cask install minishift
$ brew install docker-machine-driver-xhyve
...
==> Downloading https://homebrew.bintray.com/bottles/docker-machine-driver-xhyve-0.3.3.high_sierra.bottle.1.tar.
######################################################################## 100.0%
==> Pouring docker-machine-driver-xhyve-0.3.3.high_sierra.bottle.1.tar.gz
==> Caveats
This driver requires superuser privileges to access the hypervisor. To
enable, execute
    sudo chown root:wheel /usr/local/opt/docker-machine-driver-xhyve/bin/docker-machine-driver-xhyve
    sudo chmod u+s /usr/local/opt/docker-machine-driver-xhyve/bin/docker-machine-driver-xhyve
==> Summary
🍺  /usr/local/Cellar/docker-machine-driver-xhyve/0.3.3: 3 files, 10.5MB

$ sudo chown root:wheel /usr/local/opt/docker-machine-driver-xhyve/bin/docker-machine-driver-xhyve
Password:
$ sudo chmod u+s /usr/local/opt/docker-machine-driver-xhyve/bin/docker-machine-driver-xhyve
$
インストールできたら起動。
$ minishift start
-- Starting profile 'minishift'
-- Checking if requested OpenShift version 'v3.7.2' is valid ... OK
-- Checking if requested OpenShift version 'v3.7.2' is supported ... OK
-- Checking if requested hypervisor 'xhyve' is supported on this platform ... OK
-- Checking if xhyve driver is installed ...
   Driver is available at /usr/local/bin/docker-machine-driver-xhyve
   Checking for setuid bit ... OK
-- Checking the ISO URL ... OK
-- Downloading OpenShift binary 'oc' version 'v3.7.2'
 38.18 MiB / 38.18 MiB [============================================================================] 100.00% 0s-- Downloading OpenShift v3.7.2 checksums ... OK
-- Checking if provided oc flags are supported ... OK
-- Starting local OpenShift cluster using 'xhyve' hypervisor ...
-- Minishift VM will be configured with ...
   Memory:    2 GB
   vCPUs :    2
   Disk size: 20 GB

   Downloading ISO 'https://github.com/minishift/minishift-b2d-iso/releases/download/v1.2.0/minishift-b2d.iso'
 40.00 MiB / 40.00 MiB [============================================================================] 100.00% 0s
-- Starting Minishift VM ........................................ FAIL E0408 20:29:20.229373   34738 start.go:368] Error starting the VM: Error creating the VM. Error creating machine: Error in driver during machine creation: Could not convert the UUID to MAC address: exit status 1. Retrying.
Error starting the VM: Error creating the VM. Error creating machine: Error in driver during machine creation: Could not convert the UUID to MAC address: exit status 1
$
むぅ。起動せず。~/.minishift を消してやり直し。–v=10 はログを詳細に出す指定です。
$ minishift start --v=10
...
-- Starting Minishift VM .................................... OK
-- Checking for IP address ... OK
-- Checking for nameservers ... OK
-- Checking if external host is reachable from the Minishift VM ...
   Pinging 8.8.8.8 ... OK
-- Checking HTTP connectivity from the VM ...
   Retrieving http://minishift.io/index.html ... OK
-- Checking if persistent storage volume is mounted ... OK
-- Checking available disk space ... 0% used OK
   Importing 'openshift/origin:v3.7.2' . CACHE MISS
   Importing 'openshift/origin-docker-registry:v3.7.2'  CACHE MISS
   Importing 'openshift/origin-haproxy-router:v3.7.2'  CACHE MISS
-- OpenShift cluster will be configured with ...
   Version: v3.7.2
-- Running 'oc' with: 'cluster up --use-existing-config --host-config-dir /var/lib/minishift/openshift.local.config --host-data-dir /var/lib/minishift/hostdata --host-pv-dir /var/lib/minishift/openshift.local.pv --host-volumes-dir /var/lib/minishift/openshift.local.volumes --routing-suffix 192.168.64.2.nip.io'
Starting OpenShift using openshift/origin:v3.7.2 ...
Pulling image openshift/origin:v3.7.2
Pulled 1/4 layers, 26% complete
Pulled 1/4 layers, 40% complete
Pulled 1/4 layers, 55% complete
Pulled 1/4 layers, 69% complete
Pulled 2/4 layers, 83% complete
Pulled 3/4 layers, 90% complete
Pulled 3/4 layers, 93% complete
Pulled 3/4 layers, 96% complete
Pulled 3/4 layers, 99% complete
Pulled 4/4 layers, 100% complete
Extracting
Image pull complete
OpenShift server started.

The server is accessible via web console at:
    https://192.168.64.2:8443

You are logged in as:
    User:     developer
    Password:

To login as administrator:
    oc login -u system:admin

-- Exporting of OpenShift images is occuring in background process with pid 35072.
$
今度は起動しました。
oc コマンドにPATHを通す設定を ~/.bash_profile に追加しておきます。
eval $(minishift oc-env)
きょうはここまで。
$ minishift stop
Stopping local OpenShift cluster...
Cluster stopped.
$